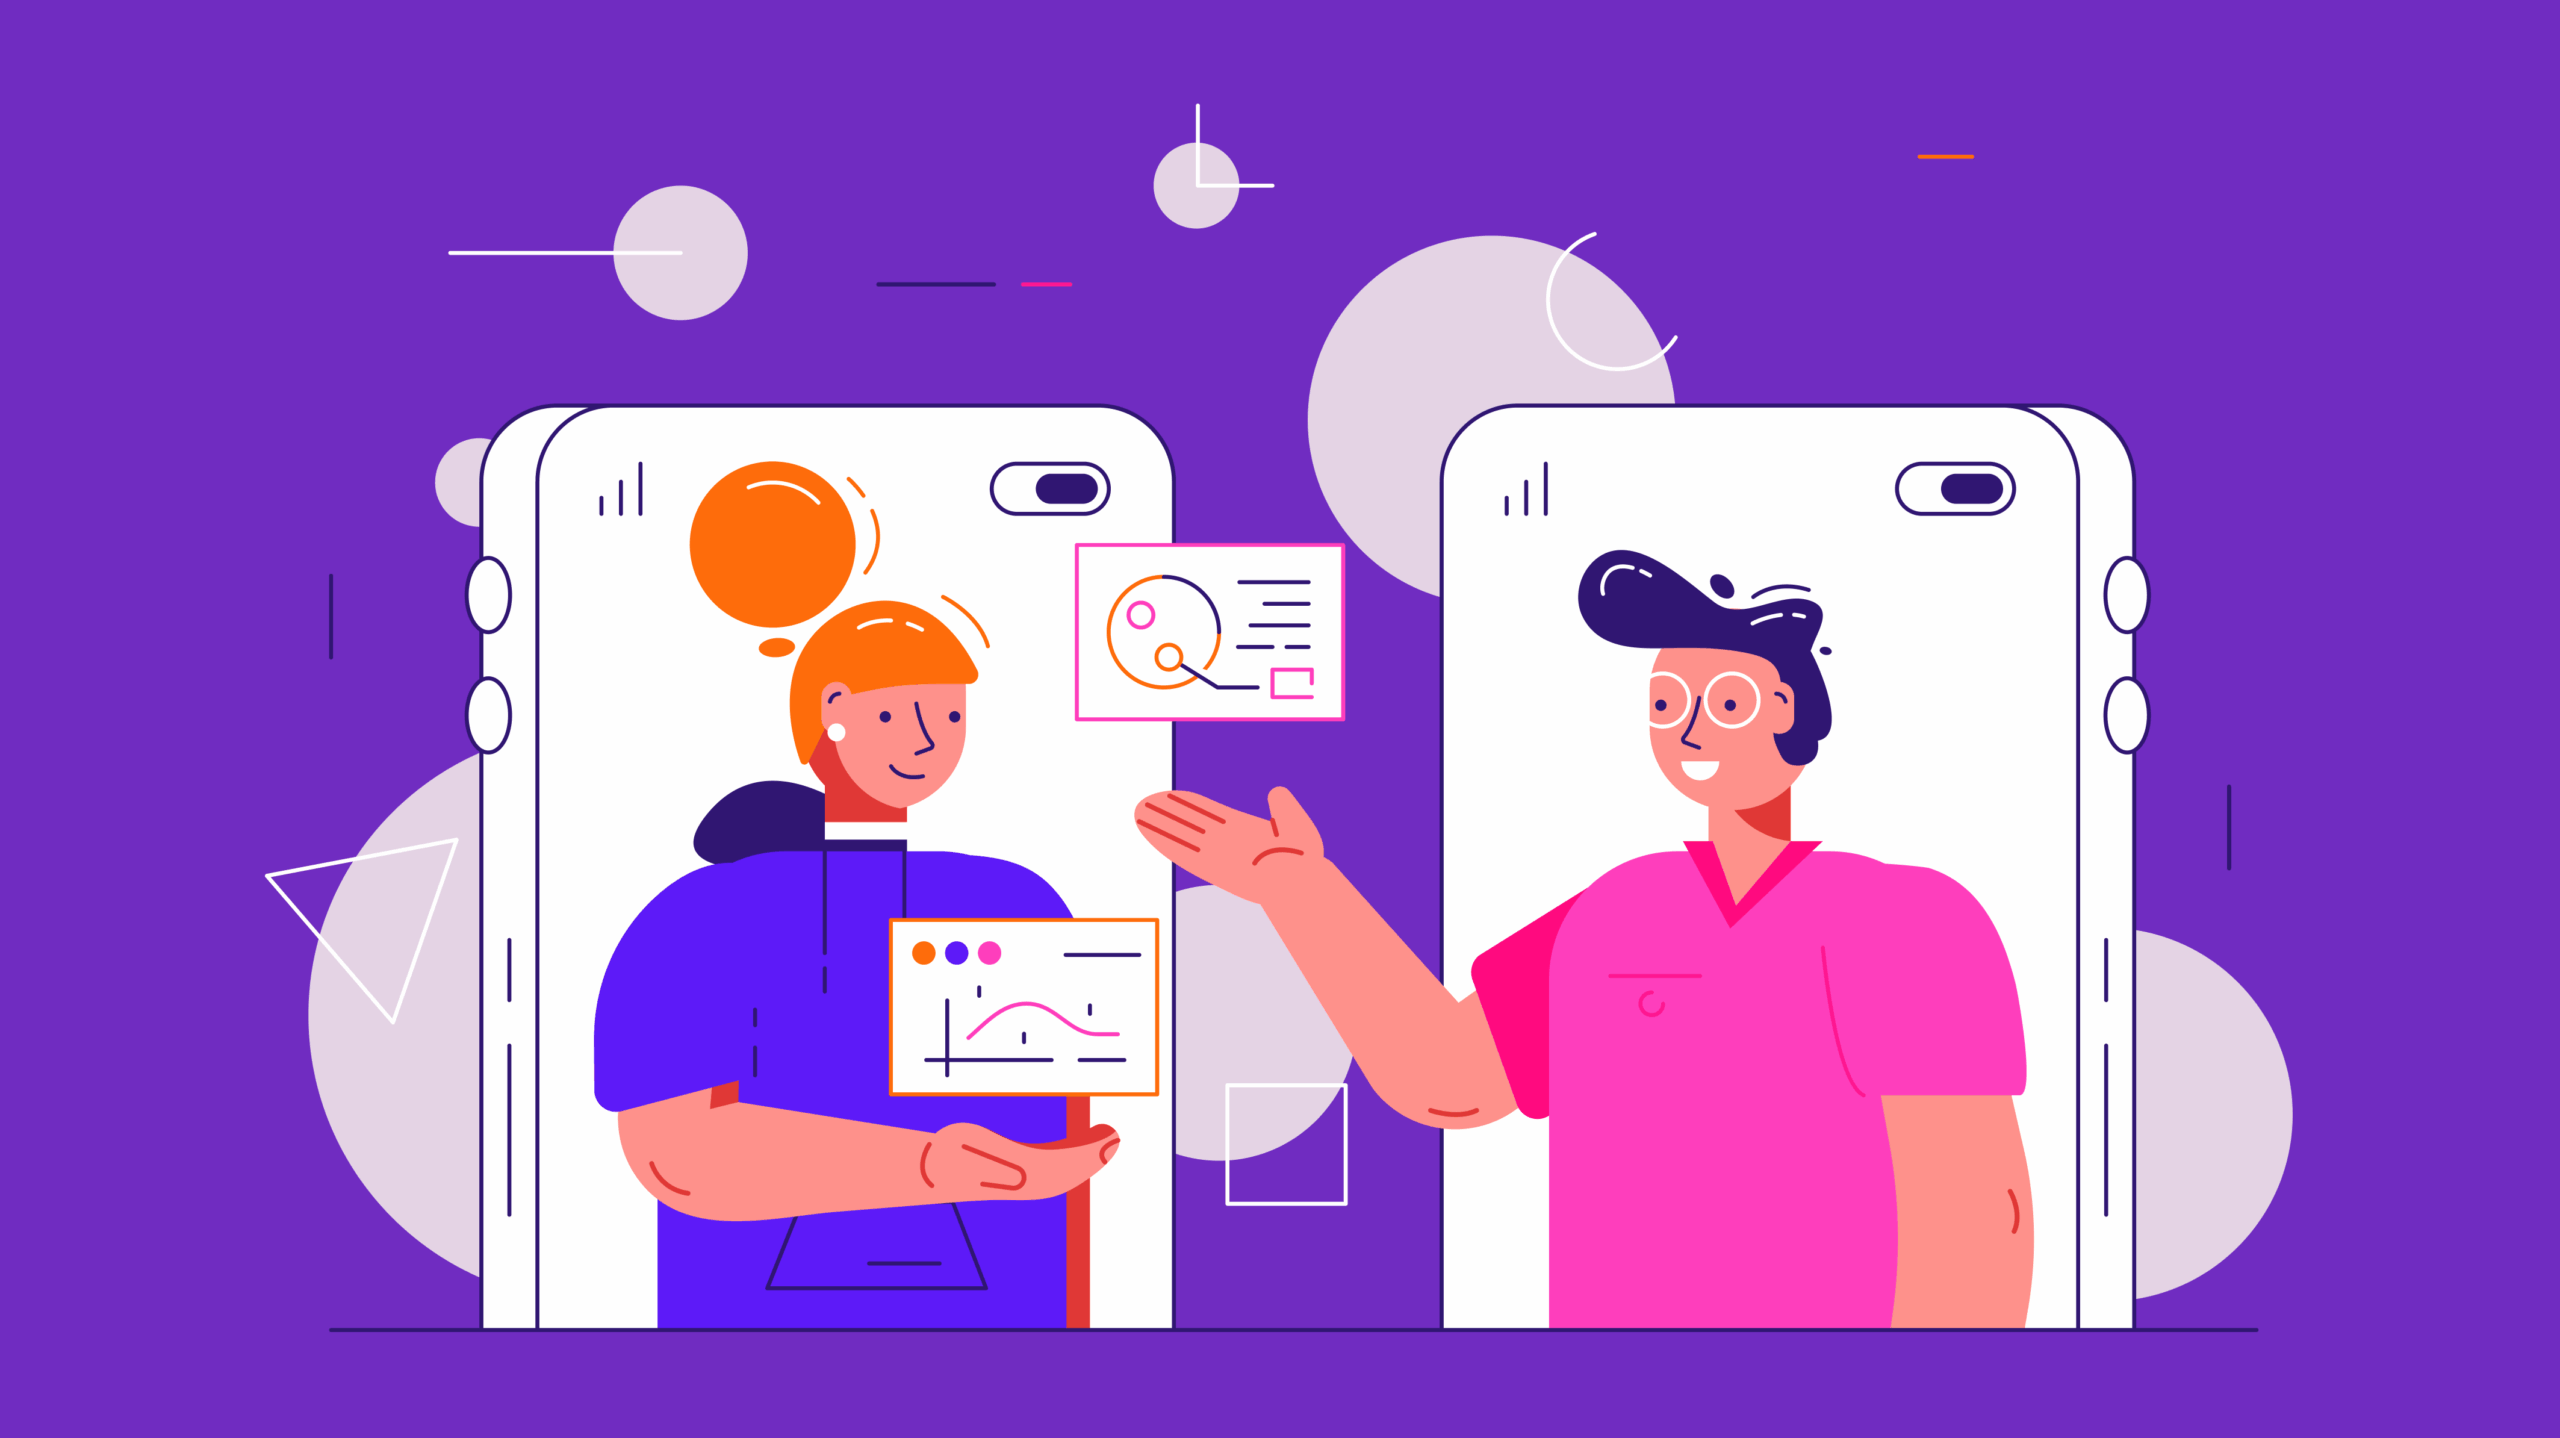
What is an Educational Video?
Educational videos are specifically designed to convey knowledge or skills to the viewer in an easy-to-understand way. They range from simple screencasts to detailed animations. With the growing popularity of platforms like YouTube, the world’s largest video hub, these videos have become the go-to resource for knowledge seekers. From DIY tutorials and academic lectures to software guides, YouTube offers a wealth of learning content. However, creating such videos involves more than just filming. It requires planning, suitable software, and a deep understanding of your target audience.
Creating Educational Videos: Achieve It in No Time
Creating explainer videos might seem complex at first, especially when considering technical aspects and software tools. However, with proper planning, the right tools, and a bit of practice, you can create a professional explainer video in no time. Key aspects include defining your target audience, selecting the right topic and content, using the best video software and techniques, and incorporating elements like animations, graphics, and voiceovers to convey your message effectively. There are many online explainer video software solutions and templates available that simplify the video editing process. Many of them feature drag-and-drop functionality, making it easy for beginners to produce high-quality videos. Additionally, choosing the right platform to share your video — whether it’s a video platform, social media, or your own website — is crucial for effective distribution.
Types of Educational Videos
Explainer videos are an effective way to present complex topics and content in an understandable manner. There are various types of educational videos that can be tailored to the target audience and subject matter. Below, we highlight some of the most common formats along with their advantages and disadvantages.
Expert Lecture
An expert lecture is a video format where a subject matter expert delves deeply into a specific topic. This could include a scientific discussion, an industry analysis, or an exploration of current trends. Such lectures are often delivered at conferences or seminars and later shared as educational resources.
Advantages:
- Provides in-depth, well-founded information.
- Adds credibility to the content through the speaker’s expert status.
Disadvantages:
- May be too technical or specific for a general audience.
- Often requires a higher attention span from viewers.
Practical Tutorials
Practical tutorials, also known as how-to videos, are action-oriented videos that demonstrate how to perform a specific task. These can range from DIY projects to solutions for everyday problems.
Advantages:
- Provides practical, easy-to-follow instructions.
- Helps viewers learn new skills or techniques.
Disadvantages:
- Often requires detailed planning and preparation.
- Can be difficult to understand without clear instructions or visual aids.
Software Tutorial
Software tutorials are guides specifically designed to teach viewers how to use a software program or app. These can range from basic introductions to advanced techniques.
Advantages:
- Provides specific instructions for software tools.
- Helps viewers save time and avoid mistakes.
Disadvantages:
- Can quickly become outdated due to regular software updates.
- Sometimes too niche for a broader audience.
Demo Video
Demo videos showcase a product, service, or feature in action. They are often designed to demonstrate the value or benefits of the highlighted item to potential customers or users.
Advantages:
- Directly shows how a product or service works.
- Can be persuasive and encourage purchase or usage.
Disadvantages:
- May be perceived as overly promotional or staged.
- Often requires high production quality to appear professional.
What Makes a Good Educational Video
An effective educational video goes beyond simply conveying information. It combines clear content with engaging presentation to captivate viewers and facilitate learning. Here are some key elements that define a good educational video:
- Clarity of Message: The video should have a clear goal and deliver that goal without distractions.
- Target Audience Orientation: It should be tailored to the specific needs and prior knowledge of the target audience.
- Visual and Audio Quality: High-quality visuals and sound are crucial for conveying professionalism and avoiding viewer distraction.
- Interactivity: Providing opportunities for viewers to actively engage in the learning process can enhance attention and understanding.
- Short and Concise: In today’s fast-paced world, shorter, more concise videos are often more effective than longer ones.
Common Mistakes in Creating Educational Videos
Even though creating explainer videos has become easier with the right tools and techniques, there are still common pitfalls to avoid.
The Target Audience Must Be Clearly Defined
A video that isn’t tailored to the specific needs and prior knowledge of its target audience often fails to achieve the desired effect. Mistake: Overlooking the target audience can result in a video that is either too technical, too simplistic, or irrelevant to the viewer. Solution: Conduct a thorough audience analysis before creating the video. This helps tailor the content, tone, and presentation to suit the audience.
No Video is Perfect
While quality is important, striving for perfection can often be counterproductive and hinder the creative process. Mistake: Spending too much time on minor details or making constant revisions can slow down production and often result in an overworked, unnatural final product. Solution: It’s essential to strike a balance between quality and efficiency. Often, it’s better to publish the video and gather feedback than to chase perfection endlessly.
How to Create an Educational Video with Screen Recording
An educational video using screen recording, also known as a screencast, allows you to capture your computer screen in real time, often accompanied by a voiceover. This is particularly useful for software tutorials, online courses, or technical guides. However, there are some important considerations before you get started.
Step 1: Define Your Target Audience
Before planning your video, it’s essential to know who you’re addressing and why. This affects not just the content but also the tone, style, and structure of your video.
Key Considerations:
- Topic Selection: Stick to one clear topic per video to maintain focus and ensure relevance for your viewers.
- Know Your Audience: Think about who will watch your video. What are their demographic characteristics? What are their interests? What problems are they trying to solve?
- Create Value: Determine what benefit viewers will gain from your video. This could range from practical instructions to in-depth expertise.
- Set Clear Goals: What do you want viewers to do or know after watching your video? A clearly defined goal helps structure the content and measure success.
Step 2: Create a Script and Storyboard
A well-thought-out storyboard and precise script are the backbone of any successful educational video. They serve as a guide for production and ensure your message is delivered clearly and effectively. Storyboard: Visualize Your Idea A storyboard helps you plan the visual flow of your video. It’s a kind of visual draft showing what will happen in each scene.
- Keep It Simple: You don’t need to be a Picasso. Even basic sketches can help you visualize the sequence.
- Screencasts: For screen recordings, you can use screenshots to map out the steps you’ll demonstrate and their order.
- Tools: There are many explainer video tools, from Adobe to simpler drag-and-drop options, that can help you create a digital storyboard.
Script: Your Guiding Thread The script is the spoken part of your video. It should be clear, concise, and written in language that your audience understands.
- Natural Tone: Use everyday language. Your voiceover should sound like you’re explaining something to a friend.
- Visual Support: Let the visuals do the talking. Instead of describing what’s being shown, explain the context or the reasoning behind specific actions.
- Practice: A good script flows naturally. Read it aloud several times. If you stumble over certain parts, revise them.
- Feedback: Get input from others. A fresh perspective can help identify unclear sections or unnecessary information.
Step 3: Recording the Voice-Over
A compelling voice-over is crucial to the success of your educational video. It gives your video personality and helps convey complex information clearly.
Tips for Optimal Audio Quality:
- Microphone Choice: A high-quality external microphone usually delivers better results than built-in microphones. Even a good headset can work wonders.
- Quiet Environment: Choose a quiet room for recording. A small, well-insulated space can help minimize distracting background noise.
- Clear Articulation: Speak calmly and clearly. Made a mistake during the recording? No problem. Pause briefly and pick up just before the error. With the right software, you can easily edit these out later.
Step 4: Conducting Screen Recording with OBS
After completing all preparations, it’s time to begin screen recording. OBS (Open Broadcaster Software) is a popular tool well-suited for this purpose. Here are specific steps and tips to create a clear and professional screen recording with OBS:
- Close all unnecessary applications.
- Temporarily disable notifications and updates to avoid unwanted pop-ups.
- Ensure that you have selected the correct resolution and frame rate in OBS video settings.
- Check the audio settings to confirm your microphone is correctly recognized.
- For pixel-perfect live streams, set the video bitrate to 4000 Kbps. This is the optimal video bitrate for live streaming in Full HD (1080p) at 30fps. Increase the audio bitrate to 320 Kbps.
Start Screen Recording:
- In OBS, click “Start Recording” to capture the screen.
- You can also add a “Video Capture Device” source to include your webcam in the recording.
- Position the webcam window in a suitable spot, such as a corner, to show your face during the presentation.
Step 5: Edit the Video
Once you’ve completed your screen recording, it’s time to edit and optimize your video. Video editing allows you to fix mistakes, add additional content, and enhance the overall experience for your viewers.
- Tool Selection: There are numerous video editing programs available, ranging from beginner tools to professional solutions. A recommended free tool is Blender. It offers extensive video editing capabilities as well as 3D animation features.
- Basic Editing Techniques: Start by trimming unnecessary parts, adding transitions, and correcting any color or audio issues.
- Graphics and Animations: Use Blender’s features to incorporate impressive graphics and animations into your video.
- Text and Titles: Text overlays or titles can highlight key information or provide additional context.
Step 6: Create a Memorable Intro
The intro is often the first impression your audience has of your video. A well-designed intro or teaser can increase click rates and establish brand recognition.
- Short and Concise: A good intro should last no longer than 10-15 seconds.
- Brand Identity: Use your intro to showcase your brand or company. This can be achieved through a logo, specific colors, or music.
- Consistency: Use the same intro across all your educational videos to ensure consistency and recognition.
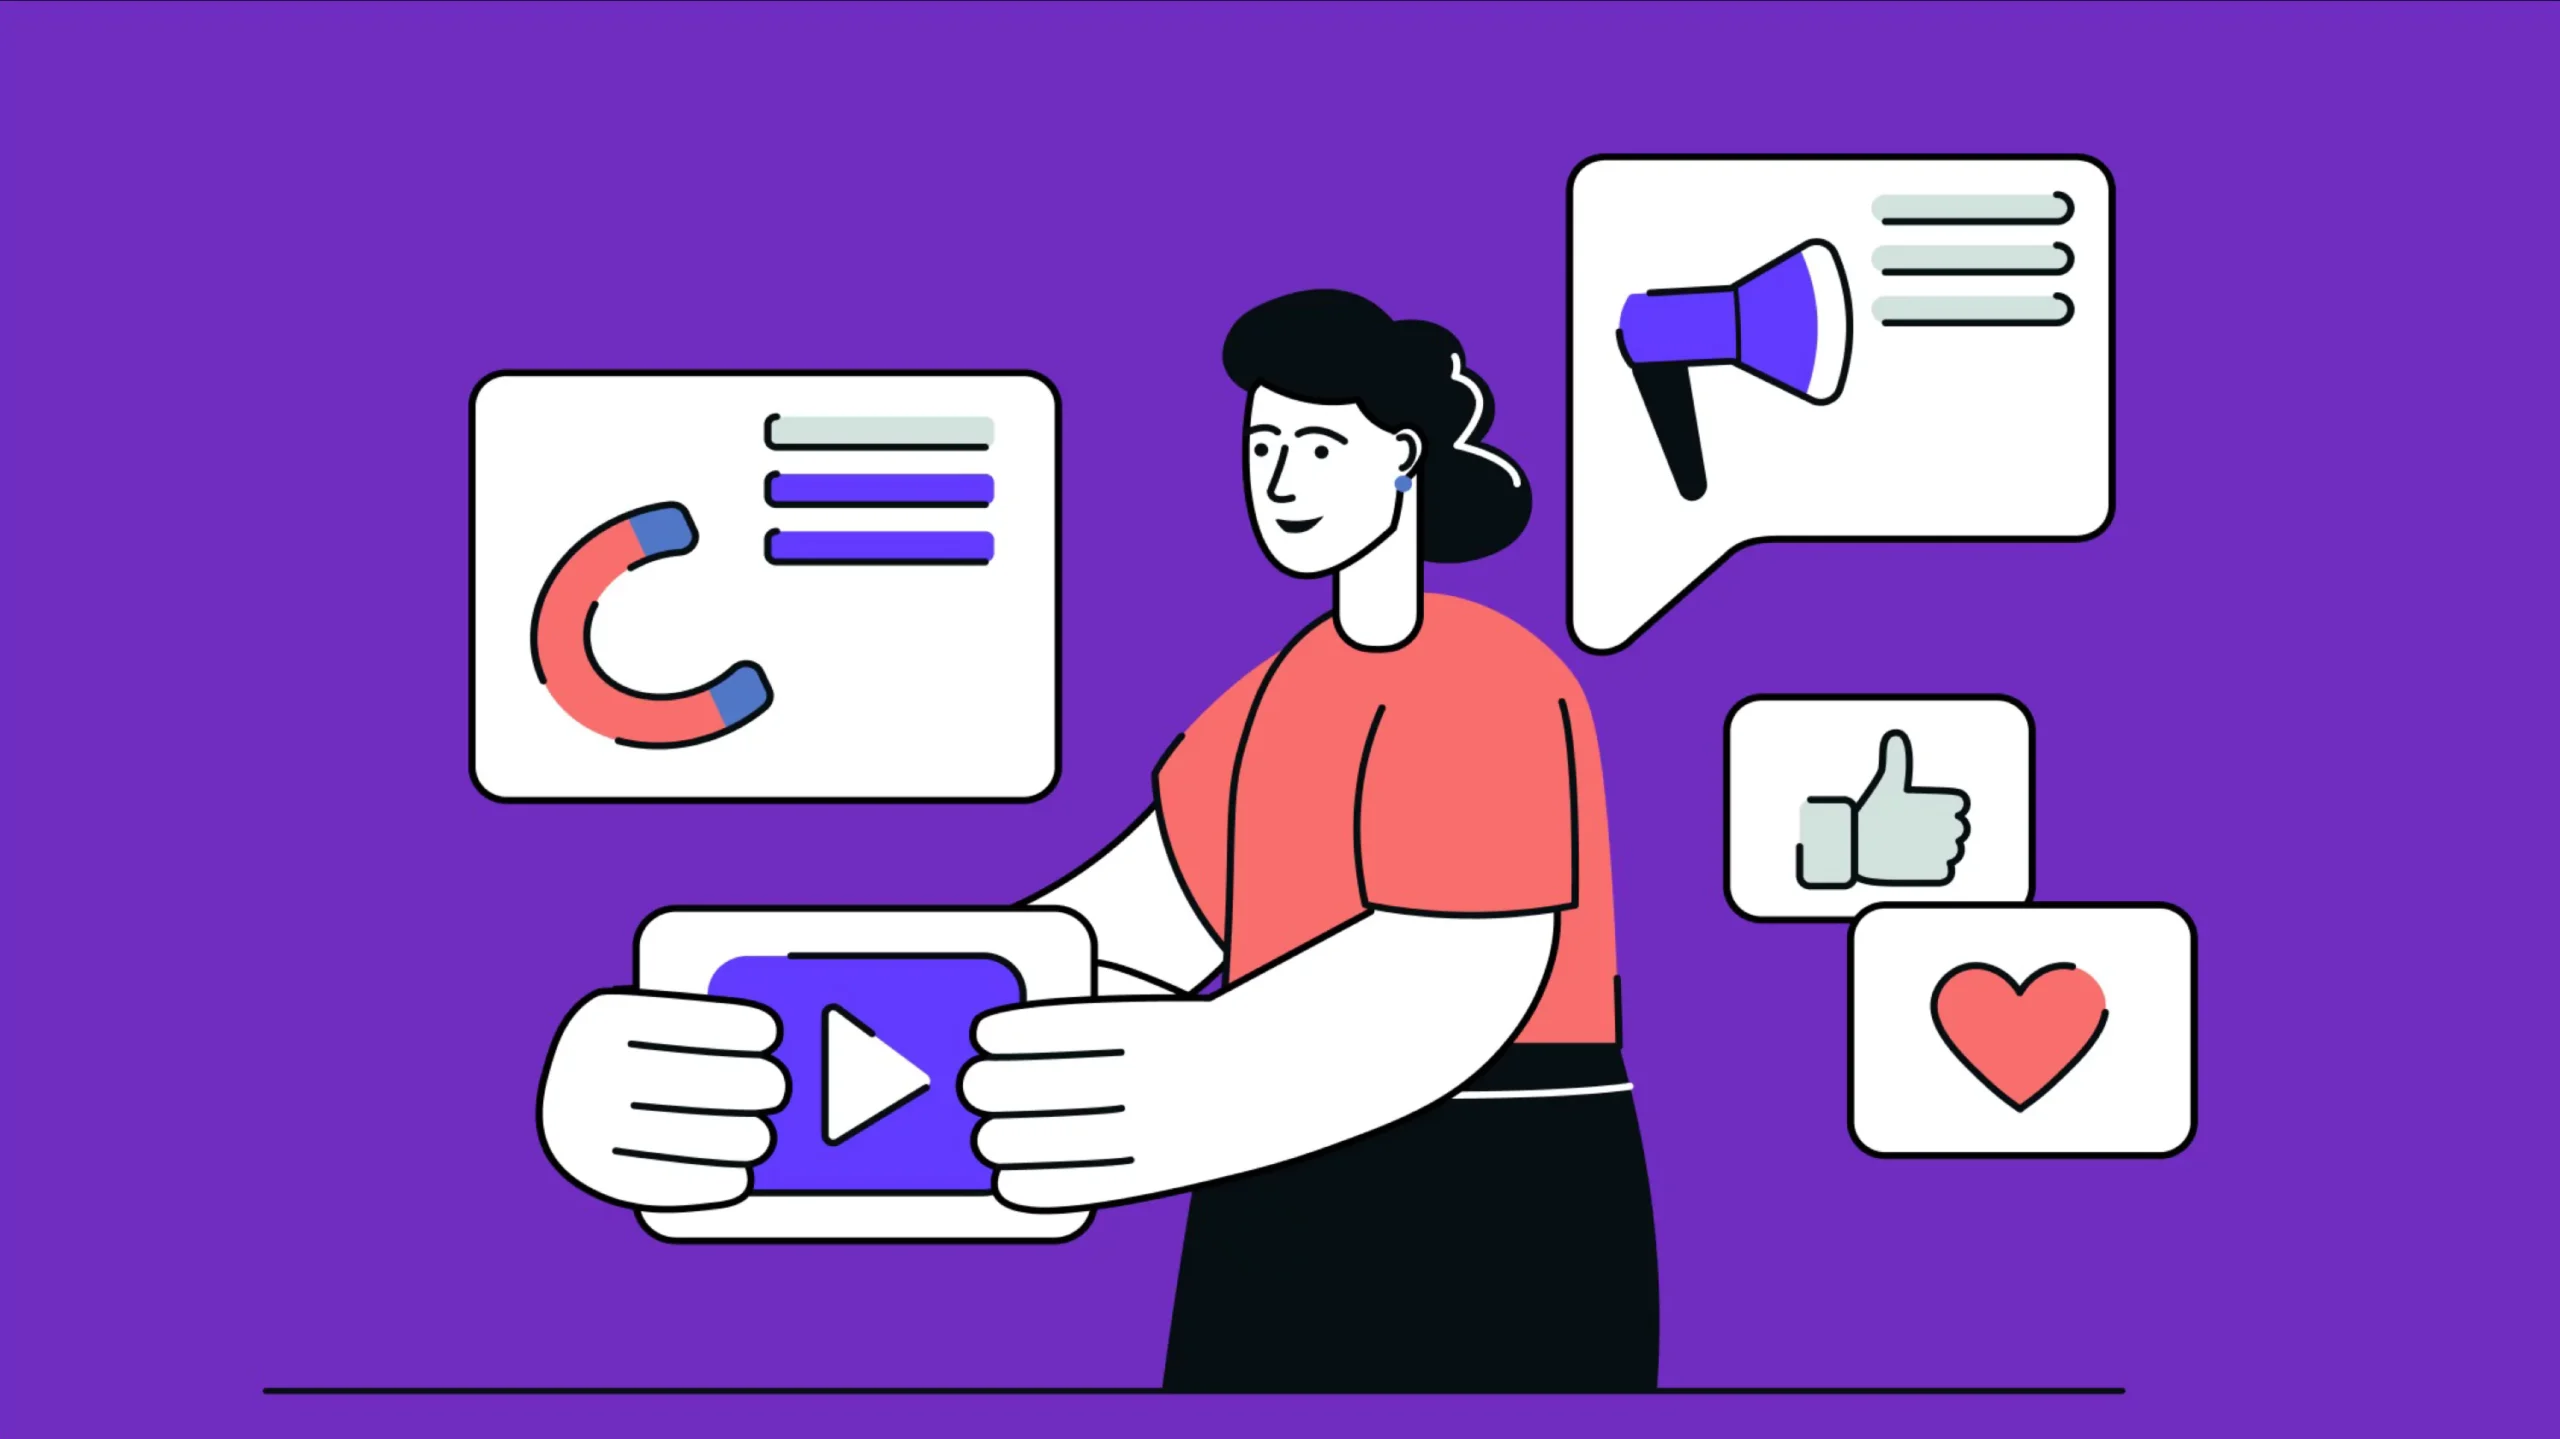
Step 7: Finalize and Share Your Educational Video with the World
Now that your video is fully edited, it’s time to publish and share it with your audience.
- Export: Make sure to export your video in a common format and high quality.
- Platform Selection: Decide on which platforms or video hosting sites you want to share your video. These could include YouTube, Vimeo, social media, or your own website.
- Promotion: Use online marketing techniques and social media platforms to promote your video and achieve a wider reach.
- Gather Feedback: Encourage your audience to provide feedback. This can offer valuable insights and help improve your future videos.
How to Create an Educational Video with a Camera
Many of the principles we’ve discussed in detail for creating videos using screen recording also apply to educational videos. In this section, we’ll focus specifically on producing explainer videos recorded with a camera. Before you begin recording, it’s essential to prepare your environment:
- Lighting: Good lighting is crucial. Use natural light if possible, or invest in softboxes or LED panels to evenly illuminate your set.
- Background: A neutral background, such as a white wall or a professional backdrop, can help minimize distractions.
- Camera: Choose a quality camera. It doesn’t have to be the most expensive model, but it should be capable of recording in HD or higher.
- Tripod: A stable tripod prevents shaky footage and allows you to fix the camera in your desired position.
- Microphone: Even if your camera has a built-in microphone, an external microphone can significantly improve audio quality.
- Props and Aids: Plan in advance which objects or aids you want to showcase in your video, and keep them within reach.
- Clothing: Wear neutral, solid-colored clothing to avoid distractions and ensure the focus stays on the video’s content.
Conclusion
Creating educational and explainer videos is an art that requires both technical expertise and a deep understanding of your target audience. With proper planning, the right tools, and a clear focus on your viewers’ needs, you can create impressive videos that not only inform but also captivate. Take the time to learn the basics, and you’ll soon be able to produce high-quality educational content that delivers real value.